
Sending emails from WordPress
Without any doubt, you will require WordPress to send out emails. Examples of these emails include:
- Sending out password reset instructions
- Notifying new users of their account details
- Routing enquiries from a contact form to your customer support staff
- Notifying you of automatic upgrades, backups, etc.
Sending emails from your WordPress server will require the services of a Simple Mail Transfer Protocol (SMTP) server. SMTP servers handle the transmission and relaying of emails across the Internet
It would be overkill to set up your own SMTP server. Using an already-configured server is much more effective. Gmail’s SMTP servers is one such option
This guide will walk you through setting up WordPress to send emails via Gmail’s SMTP servers using the Gmail SMTP plugin
WordPress: Install the Gmail SMTP plugin
Log in to the administrative area of your WordPress instance
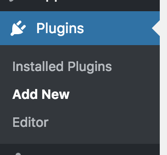
Navigate to Plugins > Add New
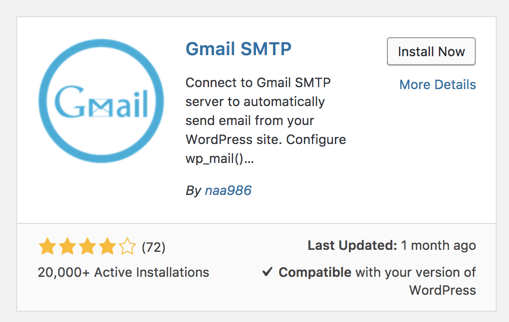
In the search box enter “Gmail SMTP”

Find the entry for the Gmail SMTP plugin and click on Install Now
After the Gmail SMTP plugin has been installed, click on Activate
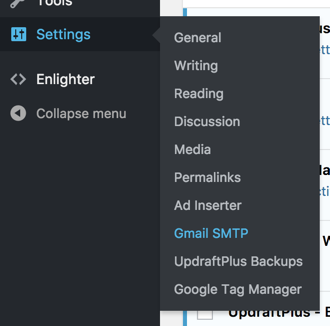
Navigate to Settings > Gmail SMTP
Copy the value for the Authorized Redirect URI setting

Google Cloud Platform: Authenticate access to Gmail’s SMTP servers
Log into the Google Cloud Console
Navigate to the project that includes the hosting of your WordPress instance. If you are instead hosting WordPress on another platform, create a new project to handle access to the Gmail API (including access to Gmail’s SMTP servers).
Select APIs & services > Dashboard
Click on Enable APIs and services

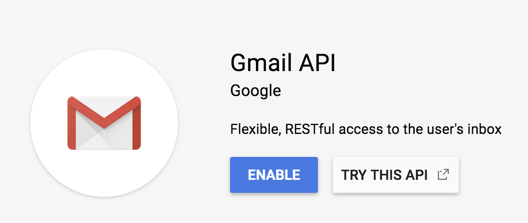
Search for “Gmail API”, click on the result, and then click on Enable
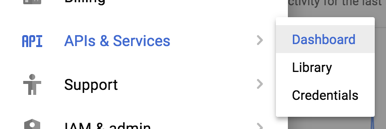
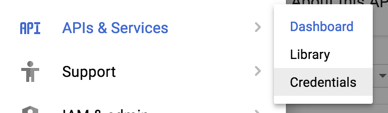
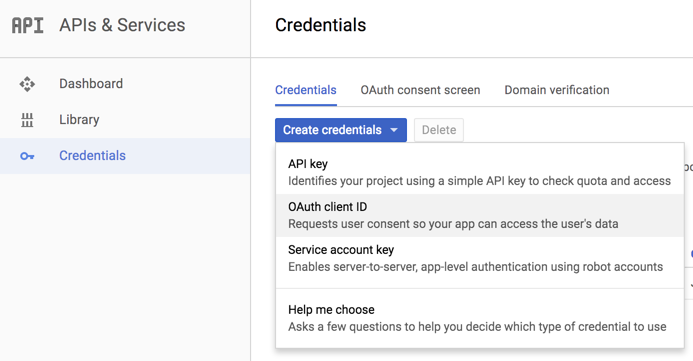
Now navigate to APIs & services > Credentials
Select Create credentials > OAuth client ID
Click on Configure consent screen

Configure your settings:
- Email address: email address to show to the authenticator. The email of your login to the Google Cloud Console will suffice.
- Product name shown to users: “Gmail SMTP WordPress Plugin”
- Click on Save

On the “Create client ID” screen, use the following settings
- Application type: Web application
- Name: Gmail SMTP WordPress Plugin
- Authorized redirect URIs: enter the URI you were given on the settings page for the Gmail SMTP plugin in WordPress

Click on the Create button
You will now be shown the client ID and client secret. Copy these down then click on OK
WordPress: Complete the configuration for the Gmail SMTP plugin
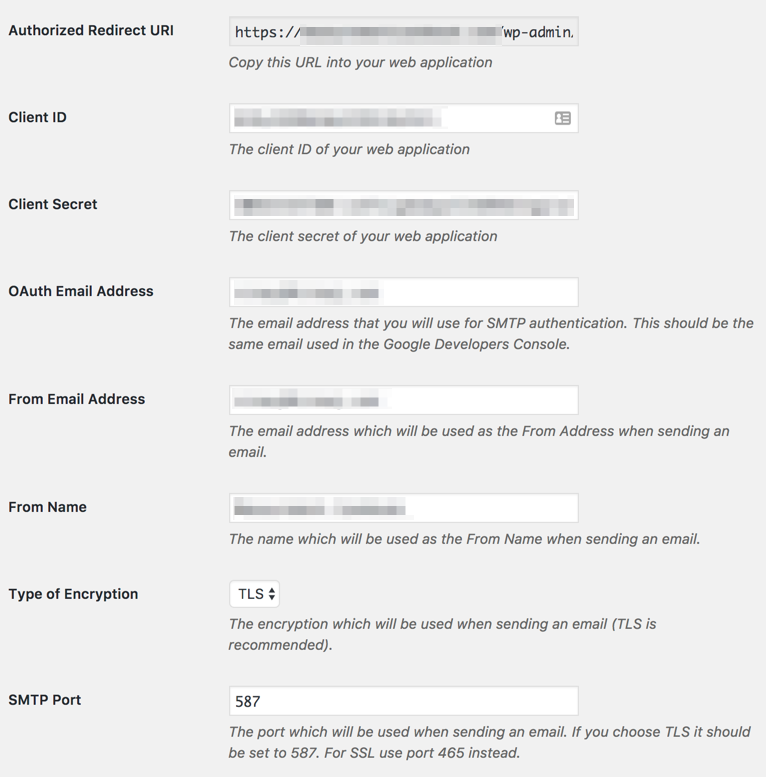
Return to the settings page for the Gmail SMTP plugin in WordPress
Paste in the client ID and client secret into the Client ID and Client Secret fields respectively
Configure the rest of the settings
- OAuth Email Address: the email address you used when logged into the Google Developer Console
- From Email Address: the reply-to address for the recipient(s) of your emails.
- From Name: your display name
- Type of Encryption: TLS
- SMTP Port: 587
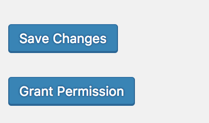
Click on Save Changes
Click on Grant Permission and proceed through the authentication flow
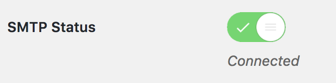
If everything is working OK you should see SMTP Status reporting as Connected
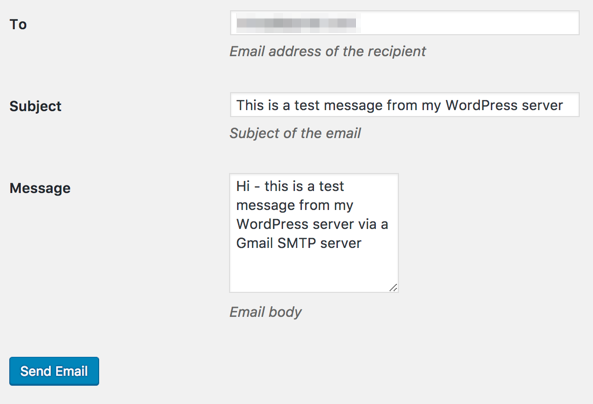
Now, let’s test if your WordPress can in fact send an email. Click on the Test Email tab.

Enter the following details:
- To: your personal email address
- Subject: This is a test message from my WordPress server
- Message: Hi – this is a test message from my WordPress server via a Gmail SMTP server
Click on Send Email
Wait for 2 minutes, and check the inbox of the email address you used for the To field.
If everything is OK, you should have received an email from your WordPress instance.