This guide walks you through implementing Stackdriver monitoring for an Apache 2 server. Google Stackdriver is a freemium service that monitors and logs performance metrics of your applications and infrastructure on Google Cloud Platform and Amazon Web Services.
Create a Stackdriver account
To use Stackdriver, the project must be in a Stackdriver account.
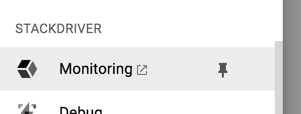
In Cloud console’s left-hand menu, select Stackdriver > Monitoring
You will be redirected to the Stackdriver application. Log into Stackdriver with your Google account.
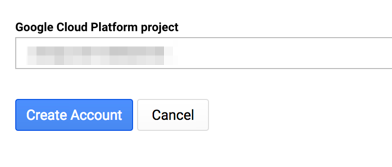
Select the Google Cloud Platform project you want monitored as part of this account.
Then click on Create Account
Skip the next two screens around adding additional projects and setting up AWS monitoring.
Install the Stackdriver Agents
Stackdriver has two types of agents that can be installed:
- Monitoring agents: collects system and application metrics from VM instances and sends them back to Stackdriver Monitoring. The agent can also be configured to monitor third-party applications, such as Apache. This requires Stackdriver Premium.
- Logging agents: allows you to read and write log entries from your cloud application.
Install the Stackdriver Monitoring agent:
SSH into your VM instance and enter the following commands
curl -sSO https://repo.stackdriver.com/stack-install.sh
sudo bash stack-install.sh --write-gcm
Install the Stackdriver Logging agent:
SSH into your VM instance and enter the following commands
curl -sSO https://dl.google.com/cloudagents/install-logging-agent.sh
sudo bash install-logging-agent.sh
Alternative: Using apt-get
sudo apt-get update
sudo apt-get install stackdriver-agent
Setting up Stackdriver Monitoring for Apache 2
SSH into your VM instance
Download the mod_status configuration for Apache.
cd /etc/apache2/conf-available
sudo curl -O https://raw.githubusercontent.com/Stackdriver/stackdriver-agent-service-configs/master/etc/httpd/conf.d/status.conf
Activate the configuration, and restart the Apache service.
sudo ln -s /etc/apache2/conf-available/status.conf /etc/apache2/conf-enabled/status.conf
sudo service apache2 restart
Download and activate Stackdriver’s Apache monitoring plugin.
cd /opt/stackdriver/collectd/etc/collectd.d/
curl -O https://raw.githubusercontent.com/Stackdriver/stackdriver-agent-service-configs/master/etc/collectd.d/apache.conf
sudo service stackdriver-agent restart
Apache rewrite rule modifications
You may need to modify existing Apache rewrite rules if attempts to access “/server-status” results in rewrites. The below example assumes you are modifying rewrite rules for a WordPress site.
Edit the site’s .htaccess file
sudo nano /var/www/html/.htaccess
Look for the site’s rewrite rules configuration:
RewriteEngine On
RewriteBase /
RewriteRule ^index.php$ - [L]
RewriteCond %{REQUEST<em>FILENAME} !-f
RewriteCond %{REQUEST</em>FILENAME} !-d
RewriteRule . /index.php [L]
Add the line RewriteCond %{REQUEST_URI} !=/server-status to the configuration:
RewriteEngine On
RewriteBase /
RewriteRule ^index.php$ - [L]
RewriteCond %{REQUEST<em>FILENAME} !-f
RewriteCond %{REQUEST</em>FILENAME} !-d
RewriteCond %{REQUEST_URI} !=/server-status
RewriteRule . /index.php [L]
Verifying Stackdriver Monitoring for Apache 2
Log in to your Stackdriver account and select the project which contains your monitored VM instance
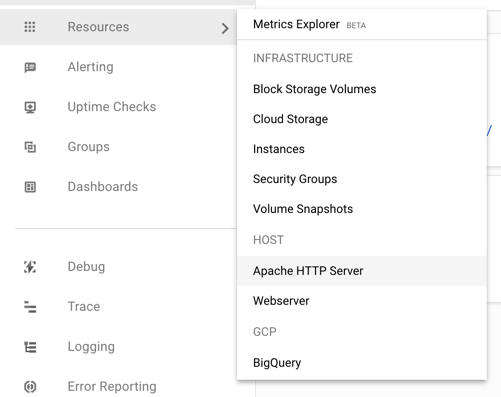
In the left-hand menu select Resources.
If everything has been set up correctly, under HOST you should see Apache HTTP Server and Webserver.
Troubleshooting
SSH into your VM instance.
Type in
curl http://localhost:80/server-status?auto
You should see something that looks like
Total Accesses: 153
Total kBytes: 3672
CPULoad: 1.03747
Uptime: 3576
ReqPerSec: .0427852
BytesPerSec: 1051.49
BytesPerReq: 24576
BusyWorkers: 1
IdleWorkers: 6
...
If, instead, you see HTML returned, it is likely that your server is trying to resolve “/server-status” to your server’s scripts and is returning a custom 404 page. Follow the steps above to turn off URL re-writing and forwarding for “/server-status”.